Wednesday, 27 June 2012

Aprons for Linh's Salon

I made 4 plain green aprons with checker neck and waist ties for my friend Linh and her nail salon - www.linhsalons.com 
This is the last apron I made - for Linh herself so she gets a sweetheart neckline and black lace frill! I originally had pale green ties but she decided she wanted to match the other aprons more! All the edges are finished with more checks and each has a check edged pocket. I also embroidered 'Linh's Salon' on each using the alphabet function on my sewing machine.

The fabric is a breathable waterproof fabric that is ideal for a nail bar - It'll withstand acetone and can even put up with going through the washing machine!


Saturday, 5 May 2012

New video tutorial - Lace Candle Holders

Beautiful candle holders made from lace dipped in a cornstarch mixture - very easy to do!

Friday, 4 May 2012

Other things I've been doing...

Bad picture I know - but I made this tree centre piece with dry oasis, a hot glue gun and baubles with the tops cut off.

I also re-covered my ironing board with new ironing board underlining

I made these two cushion covers (slight artistic modifications from my youTube upcycled jacket cushion covers video)

More recently, I also have worked on overhauling the upstairs space in my friends salon. She wanted two cubicles in this area to be able to use for beauty treatments.

Half way through... marking out the cubicle spaces:

After hanging the homemade curtains...

After hanging the photo mural wallpaper (the sections are on curtain panels so they can be slid away)

Psst... I also created a separate blog which has my wedding prep stuff on it... I've been a bit busier over there! No space for any prying fiancĂ© eyes though...!

Wednesday, 14 March 2012

Paper apples

I saw these recycled paper 3d ornaments in a few places so decided to make a few of my own!


Decide on a symetrical motif and bend in half. Cut 8 HALVES from cardboard and 8 WHOLES from recycled decorative papers.

Glue paper to two cardboard halves, repeat until all the cardboard halves are used. 

You should now have 4 thick versions and 4 paper versions.

Fold the cardboard covered in paper pieces in half with the paper side inwards and place two together to make up another whole.

Glue a paper section to join the two halves.

COntinue to join the cardboard sections in the same way all the way round, the last one might be quite fiddly but will be easier if the other sections have dried and can be folded out.

Leave to dry thoroughly. Peg or leave under a book if some sections aren't sticking well.

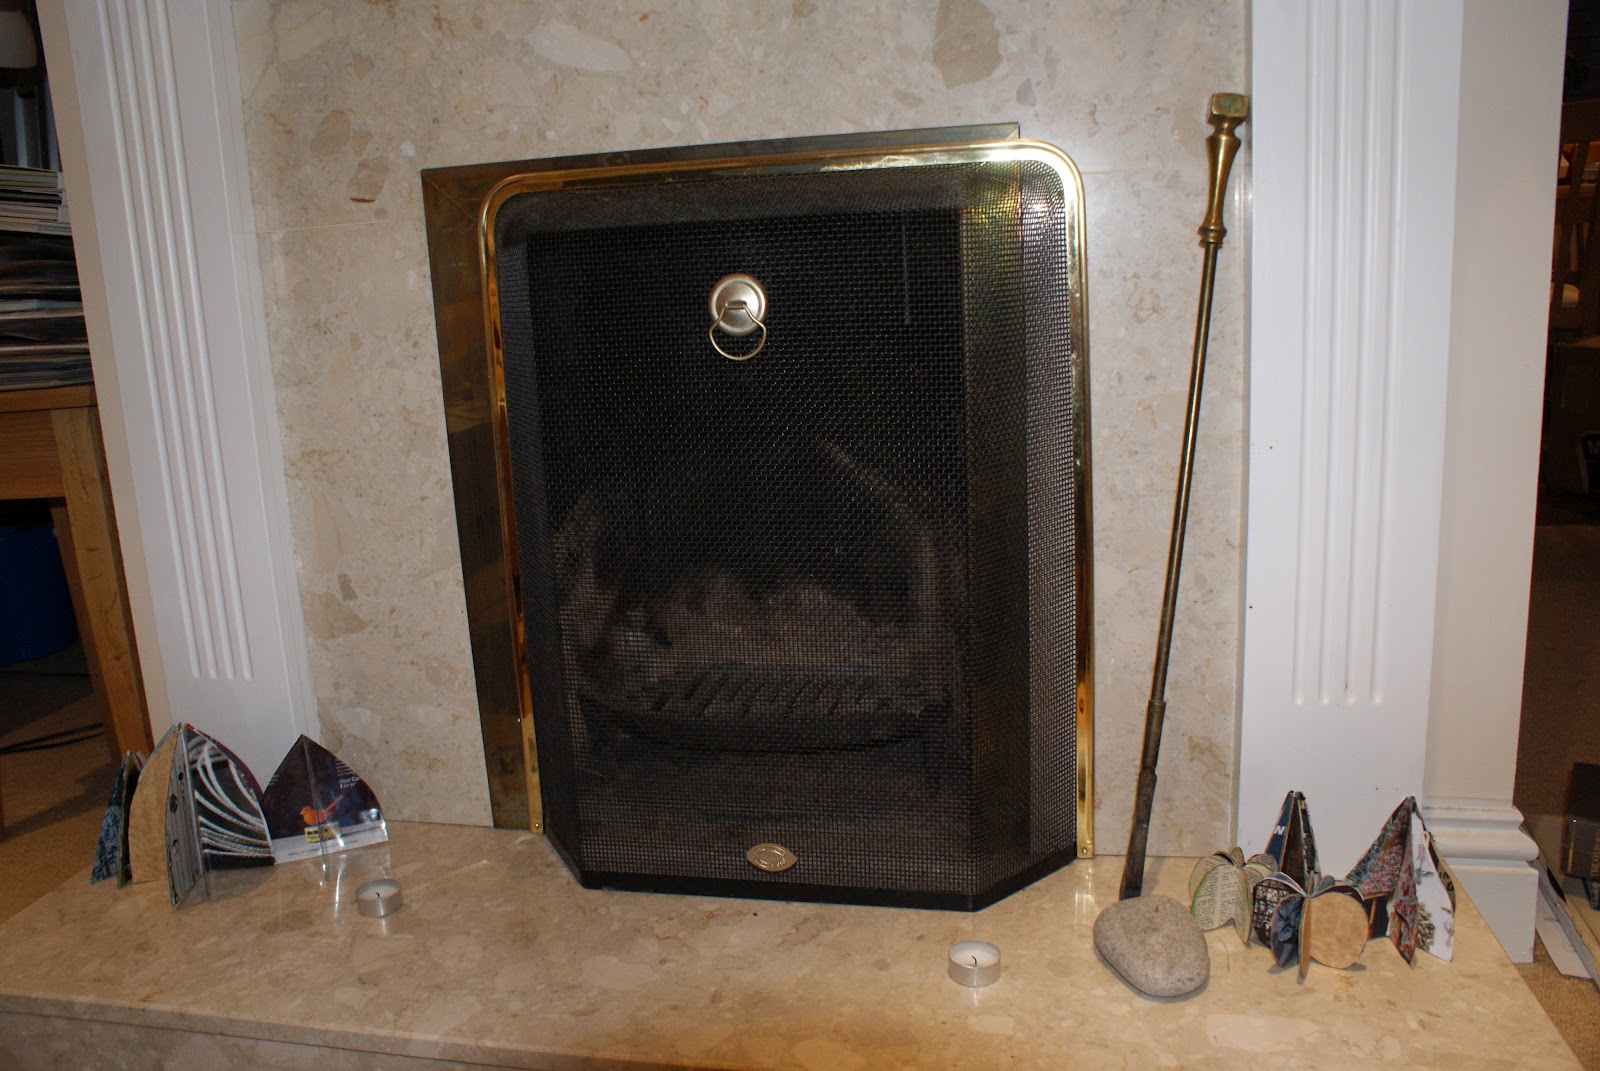
Heres my fireplace with the recycled 3d ornaments - I have apples and a few different styles of tree!

Thursday, 5 January 2012

Strawberries


Lovely Fabric Strawberries

Heres the (real time) video:
(I'm going to do a sped up version too, link will be in the intro)

And link to a quick guide pdf:

Wednesday, 9 November 2011

New video

Corsetry basics using a dressmaker - please let me know what you think, including constructive criticism!
 

Friday, 26 November 2010

It started with 2 old hats...

... bought from a charity shop. Ugly and unloved I unpicked the brims and crowns then sewed some polka dot fabric to the brim and reassembled with the second hats crown I reused one of the hats trim, added some other bits and bobs I had collected and voila... my first hat:
By now the creative juices are flowing and I made another hat and some fascinators including:
and:
and why stop there with the headwear? I made several tiaras including this one:

Can you see what is happening here? I ended up with a glut! Hence 'Kestrel Design Ltd' is born... more details to come ;)